3 Things You Didn't Know About PowerPoint Connectors
In this article you will learn 3 things you didn’t know about using PowerPoint connectors. Connectors are lines that connect or link shapes. The ends of the lines snap to the connecting points like a magnet.
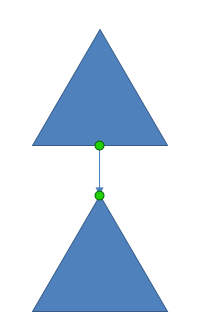
When you move the shapes, the connectors remain attached to the shapes.
How to link two shapes:
Place the two shapes you wish to connect next to each other.

Click one of the following tools from ‘lines’ option in Auto shapes menu:

When you take your cursor close to one of the shapes, you can see black dots appearing on the shape, indicating connecting points. Click on one of the points.

When you take the cursor closer to the next shape, you will see the connector points appearing
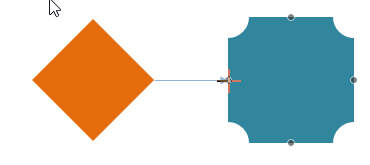
Click on the point you want to connect it to and the connection is established.
Note that ‘Curve’ and ‘Scribble’ tools can’t serve as connectors.
Now that you know how to add connectors, we'll see 3 lesser known features and benefits of using them.
1. Why use Connectors and not just line or curves?
Reason 1: Using connectors is quick,
accurate and convenient
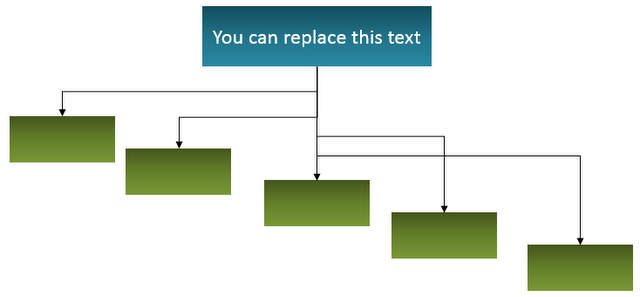
Let us say you want to create the following Organization diagram:

If you want to connect the boxes using lines and arrows not only do you need to draw one line and 5 arrows, but also need to ensure the following…
- The arrows are of the same length
- Arrows are distributed equally
- You need to zoom in to the slide to see if
the arrows touch the center of the top edge correctly.
It might take a long time to get the diagram to look perfect.
When you use ‘Elbow arrow connectors’ you can create the diagram in a snap because, the connectors snap to the center of top edge like a magnet. So, you don’t have to check for alignment.

As long as the boxes are spaced equally, you can be sure that the connectors are distributed equally. Since the connectors snap from point to point, you don’t have to worry about their length being consistent.
Reason 2: Repositioning shapes is easy
Once I make the diagram shown above, I can move around the boxes and the connectors still remain attached:
If you had used just the lines and arrows,
you may need to redraw the whole diagram.
2. How to create new connector points:
How do you link a connector to a point where there is no available connecting point as shown below:
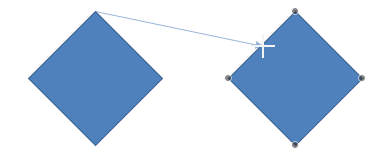
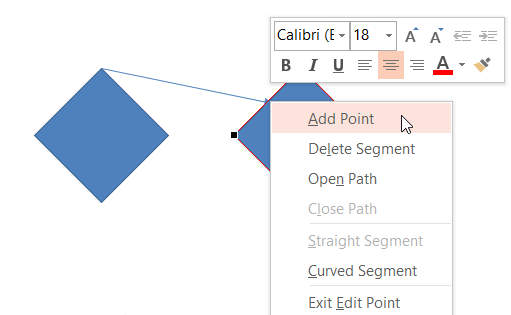
The answer is to select the shape, right click and go to ‘Edit points’. You will see the connector points appearing. Right click once again and click on ‘Add point’ where you want the connector point to appear.
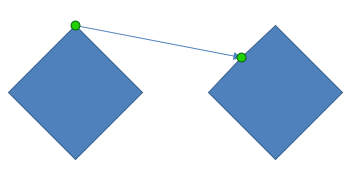
Now you can link the connector to that point and the line will snap to position.
3. Editing the PowerPoint connector lines:
You can edit the connector lines just as you would edit any line. You can change the color, vary the thickness and apply dash effect to them as shown below:
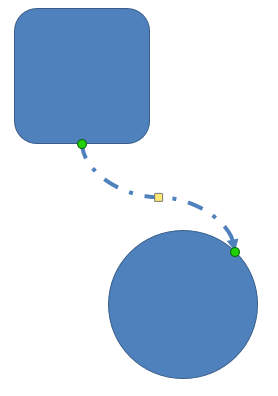
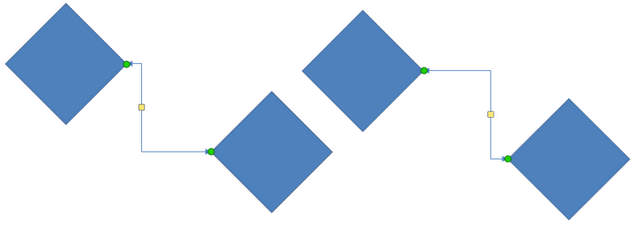
You can move the yellow handle in the middle of elbow connectors to change the shape of the connector line:
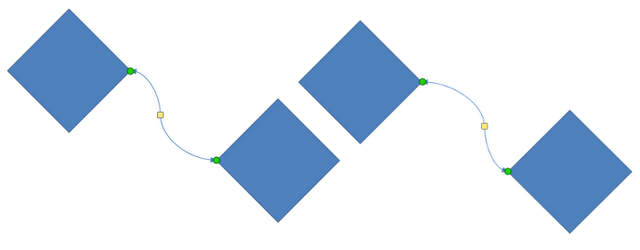
In a curved connector, moving the yellow handle changes the curvature of the line as shown below:
These are some of the aspects of linking shapes in PowerPoint.
We hope you found these points useful and can apply the learning to your next presentation.
Another useful resource for Presenters:
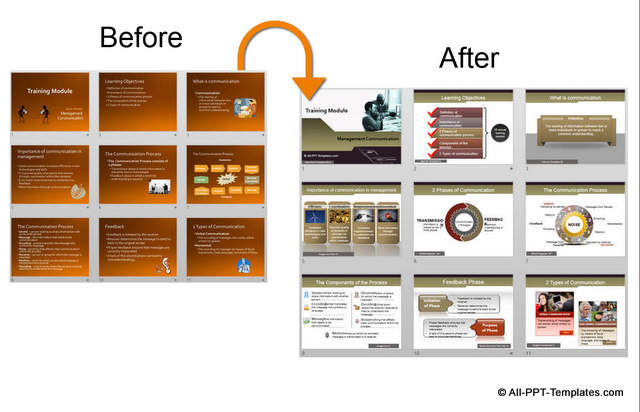
Using tools like connectors is one way to create professional presentations. Another way to make great looking presentations fast is to use good quality charts, graphics and diagrams for your slides.
However, it takes a lot of time and effort
to create professional looking graphics and diagrams from scratch. That is why
we came up with our All Inclusive PowerPoint charts, diagrams and graphic and background themes collection. All the templates are 100%editable. Just choose the template that
matches your thought and replace the sample text with your own text. Your
business slides get ready in no time.
Please browse through our exhaustive collection and see how the templates can change the way you create your business presentations forever.
Related Posts
Top of Page : PowerPoint Connectors
Main PowerPoint Tutorials Page
