Picture in PowerPoint Auto Shapes
In this article, we will see how to insert a picture in PowerPoint Auto Shapes and the benefits of doing so. By inserting a picture into an Auto Shape you can manipulate it in ways that are not normally possible in PowerPoint.
You can insert a picture into an Auto Shape and make it look like you cropped the image in different shapes. Here are some simple examples:
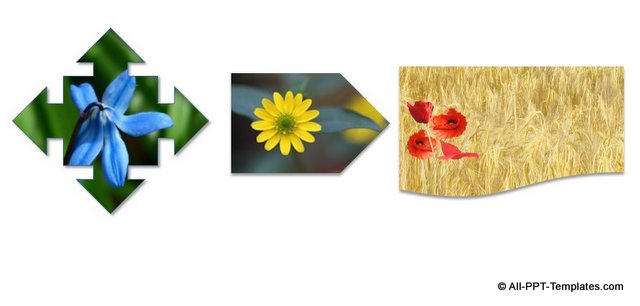 Interesting Pictures in Auto Shapes
We will see how you can insert pictures and the different ways to manipulate pictures in an interesting way.
How to add Picture in Auto Shape:
First create an auto shape from the shapes menu.

After selecting the shape, go to ‘Shape fill’ > Picture.
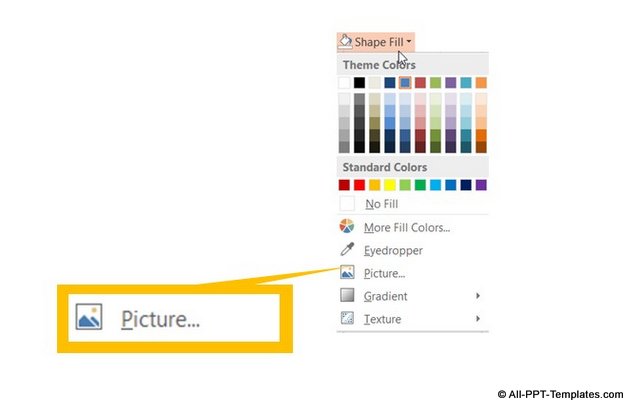 Picture Insert Menu
You will get options to insert a picture either from a file on your computer or from an online source as shown below:
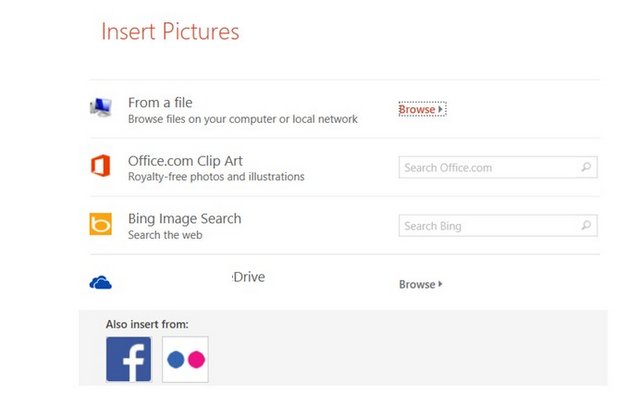 Insert Picture Options in PowerPoint 2013
Select a source and a picture and the result will be something like this:
 After Picture is Inserted in Auto Shape
Benefits of adding a picture to a shape:
There are three significant benefits to adding a picture to a shape.
Benefit 1: Adjust the transparency of the picture.
 After Changing Shape Transparency
This allows you to blend two images like in Photoshop. Note that you can’t change the transparency of an image unless you insert it into an auto shape.
Benefit 2. Use these auto shapes to serve as picture placeholders.
This helps you plan your slide layout easily. You can replace the picture by changing the picture fill even after applying animation to the auto shape with picture fill. The animation will still be retained. This unique feature allows you to create useful slide templates like the following:
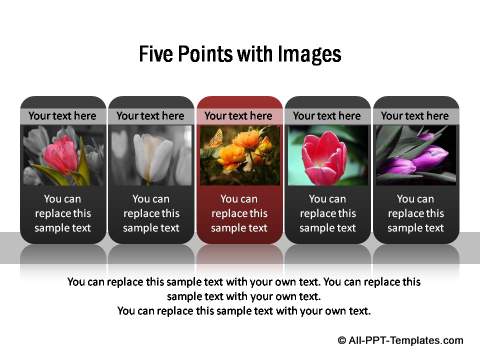 Images and Text Template ( Source: Essential PowerPoint Charts Pack)
Benefit 3 : Use the auto shapes for consistency in pictures
When you use multiple images in a presentation, each image tends to be of a different size and shape. To ensure that all images look consistent, we use the autoshape fill option. This ensures that every image is of the same size when replaced within the autoshape. This is the 3rd benefit – it allows for images to be consistent across your presentation.
These are some of the ways you benefit by adding pictures to auto shapes in PowerPoint.
Examples of PowerPoint using Pictures in Auto Shape
Example 1: Using Auto shapes to Show Picture as Puzzle
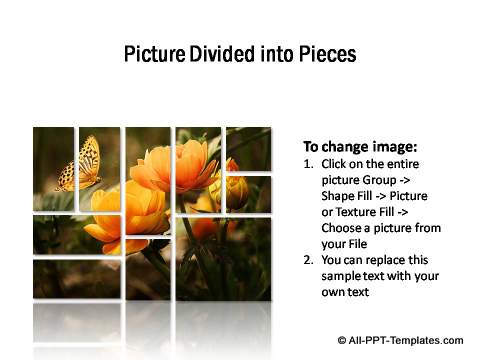 Template with Picture as Puzzle
Source: Picture showcase section of Essential Charts Pack
Example 2: Curved Image displayed in slide
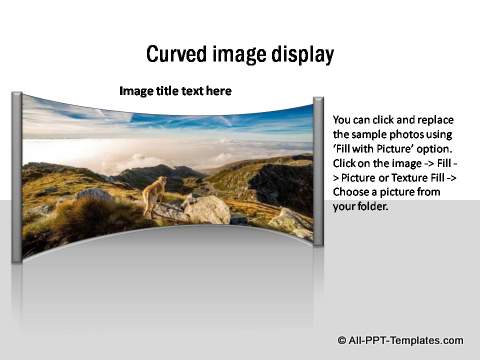 Image with Curved Effect
The above curved image effect is created with Auto Shape. So, any image that replaces the existing one will take on the same curved effect.
Source: Picture showcase section of Essential Charts Pack
Example 3: Images that blend in with text in a shape
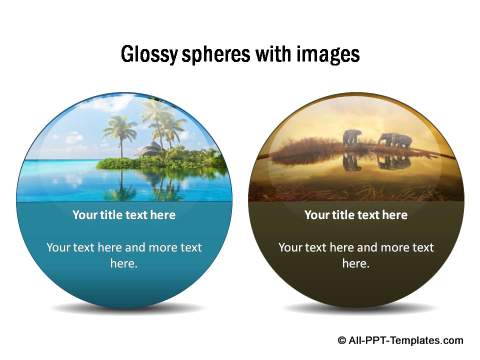 Glossy Spheres Template with Images
In the above template as well, you can replace the existing placeholder images with any image of your own. They will take on the shape and effects of the existing one.
Source: Image Comparison Section of Essential Charts Pack
All the above examples are taken from the PowerPoint Essential Charts Pack.
Using Picture fill to plan your slide layout is one way to create impressive slides. Another way to create high quality slides without spending too much effort and time is – by using ready made graphics templates. As a busy business presenter, you may not have the time to polish the look and feel of your graphics every time.
That is why we came up with our PowerPoint Essential Charts Pack for busy business presenters like you. The pack has 700 templates you can use in business presentations. Just choose the template that matches your thought. Replace the sample text with your own text and your business slides get ready in no time. Creating professional quality business slides has never been easier.
Related Posts
Top of Page : Pictures in PowerPoint Auto Shapes
Main PowerPoint Tutorials Page
