How To Hyperlink Slides in a Presentation
In this article you will learn how to hyperlink slides in a presentation and find practical and creative ways to use this PowerPoint tool.
When you make a long presentation, sometimes you may need to point back to an earlier slide to jog the memory of your audience. Or if you want to make an interactive presentation, you may have a slide that has various topics listed out, and you ask your audience to choose the topic they want to go through first.
In both the above cases, one slide is linked to another slide with an option called ‘Hyperlink’. The link is activated by clicking on a highlighted word or image. In this article, we will learn how to hyperlink different slides in a presentation. We will also see some creative ideas to use the hyperlink option.
The simple way to Hyperlink Slides:
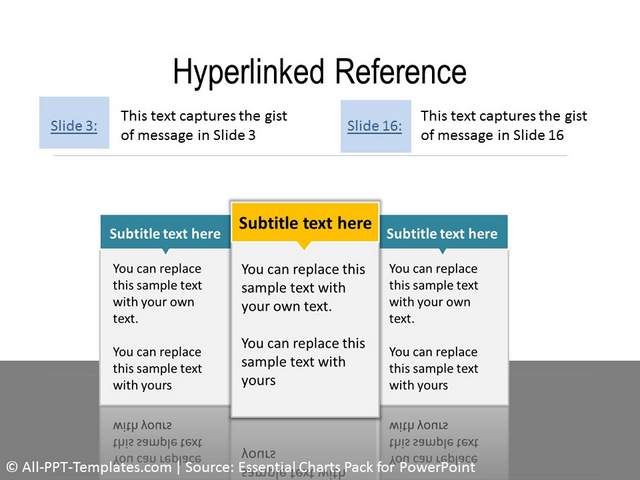
Take a look at the slide below that references two slides – Slide 3 and Slide 16 that were covered earlier in this presentation:
 Example of Hyperlinked Slide
We have used text boxes with ‘Slide3’ and ‘Slide 16’ written in it. These text boxes are hyperlinked to the respective slides. There is also the gist of the slides written right next to those text boxes. This way the presenter can choose if he/she wants to click on the link and go to the relevant slides.
Steps to Hyperlink Text to Slides:
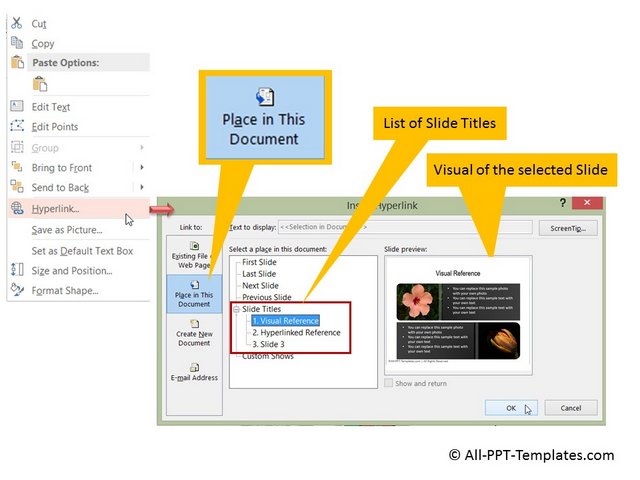
Step 1: Right click on the text and go to ‘Hyperlink’ option. The Hyperlink pane opens up as shown below:
 Menu Options for Hyperlinking
Click on the ‘Place in this Document’ tab. You will find a list of Slide titles from the current presentation you can link the text to. You can also see the slide preview for the ‘slide title’ selected.
When you click ‘OK’ the text gets linked to the selected slide. From then on, you just need to click on the link that says ‘Slide 3’ to go to Slide 3 in the presentation.
You can choose to write the slide title text instead of ‘Slide 3’ for easy reference.
A Creative Way to Hyperlink:
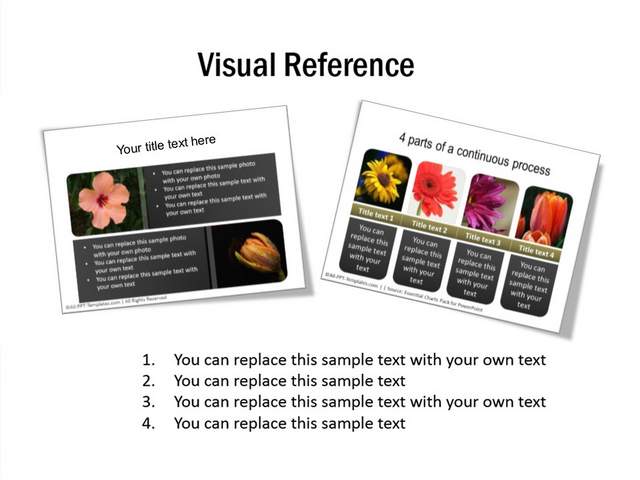
A more memorable and creative way to link slides is to use the visual of the slide as shown below:
Take a screen shot of the referenced slide
using ‘Print screen’ button on your keyboard. Go to ‘Format’ tab in the
PowerPoint ribbon and apply a picture effect of your choice. We have chosen
‘Rounded, white’ effect. ( We find the open source software called Greenshot very useful for taking screenshots of specific parts of the screen. You can find more about it here. )
Shrink the size of the picture to suit your need by pulling in the corners. You can also choose to reduce the width of the picture outline to 1 pt. You can stick as many slide pictures as you feel necessary. Once you have the pictures inserted, you can link them to the relevant slides using the technique mentioned earlier in this article.
This technique can also be used to create Picture Agenda for your presentation. For example, in the following process agenda, the images are linked to different sections of the presentation:
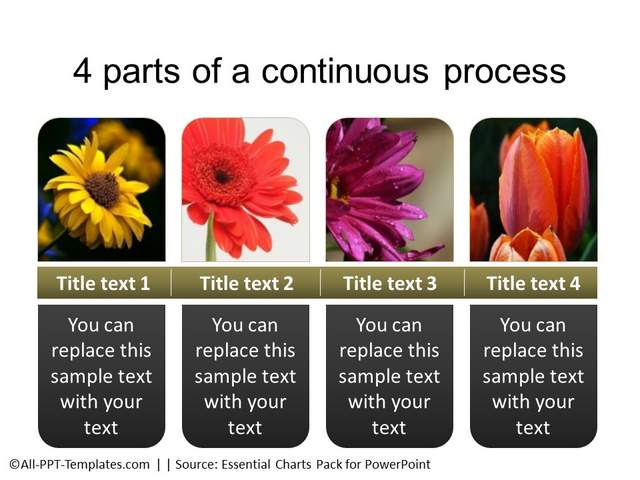 Example of a Hyerlinked Slide
Hyperlinks make your presentation interactive. Any interactive presentation is bound to impress your audience.
Quick Note: The templates shown in the screenshots above are taken from the 600 Essential Charts for PowerPoint- a pack with 600+ editable PowerPoint graphics for presenting your business slides. Learn more and browse the pack here.
I hope you found this tutorial useful. You can find many more such PowerPoint tricks in our tutorials section.
Please do share your comments below if you found this tutorial useful.
Related Posts
Top of Page : Hyperlink Slides
Main PowerPoint Tutorials Page
