Manipulate with Auto Shape Handles in PowerPoint
In this article you will learn 3 different handles with which to manipulate auto shapes in PowerPoint 2013. Use this trick to design shapes exactly suited to your requirement.
One of the most remarkable things about Auto Shapes in PowerPoint is – you can manipulate most of them to match your specific requirements easily. You make those manipulations using three types of handles that form when you click on any Auto shape.
Understanding the three types of handles:
There are handles in PowerPoint that help you to resize the shapes, rotate the shapes and manipulate the shapes.
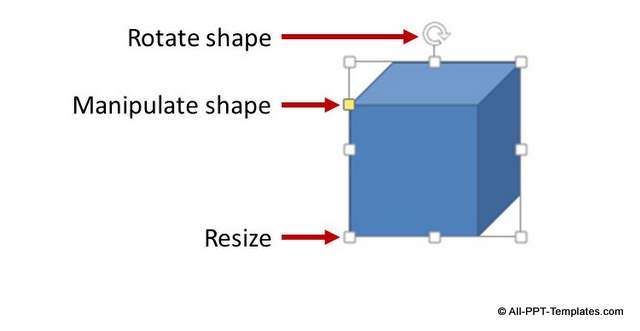
We will learn about each of the handle types in detail now.
Handle 1: Resizing Handles
The small white squares you see around an Auto Shape are called the resizing handles.
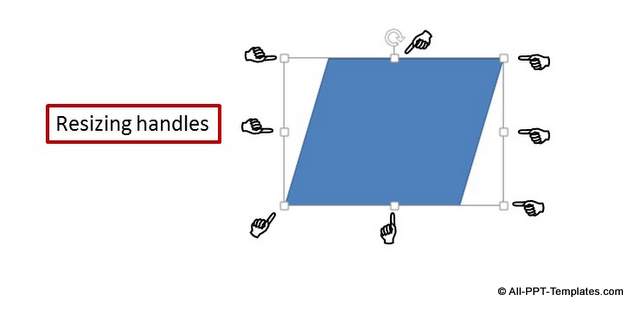 Sample Shape with Resize Handles Highlighted
When you move your cursor on any of the 8 white squares, the cursor turns into a double headed arrow.
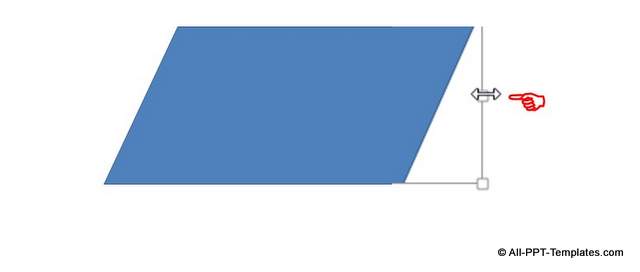 Shape Handle for Resizing
You can drag the handles in or out to constrict or expand a shape. If you want to shrink or expand a shape while keeping the proportions intact, you can hold the ‘Shift’ button when you drag the corner handles in or out.
Handle 2: Rotation Handles
Rotation handles allow you to rotate a shape around the central axes.
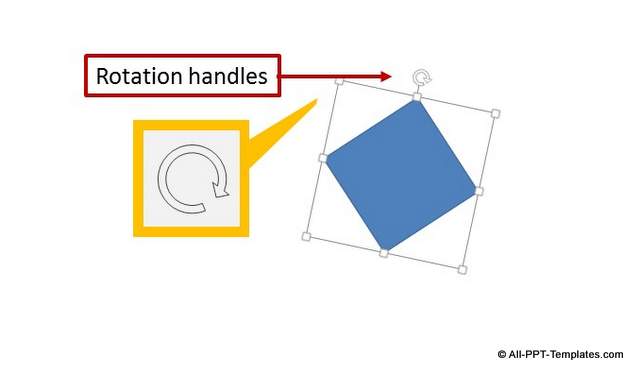 Detailed View of Rotation Handle
If you want to rotate a shape more precisely, you can right click on the shape and go to ‘Size and Position’ pane. There you can enter your angle of rotation as shown below:
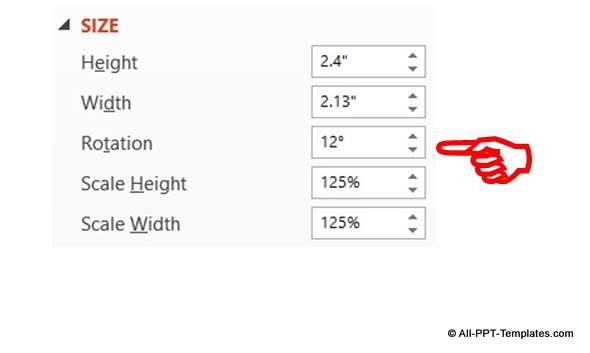 Rotation Setting for Shapes
Related: See how the rotation option works for 3D shapes
Handle 3: Yellow Adjustment Handle
These are the yellow square handles you use to manipulate an Auto Shape. The number of these handles varies according to the shape selected.
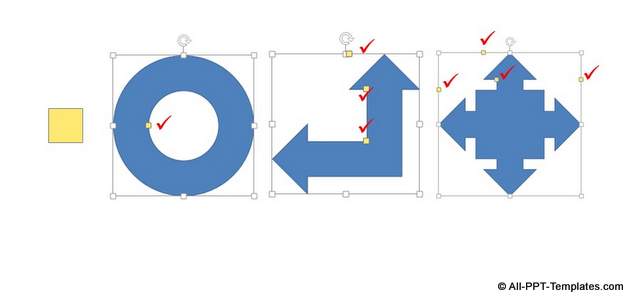 View of Diamond Handles for Manipulating Shapes
Some shapes like rectangle, parallelogram don’t have any yellow handles.
Different yellow handles manipulate a shape in different ways. Some increase or decrease the curvature of a corner, some widen or constrict holes in a shape. In an arrow shape, some alter the width of the stem while some alter the shape of the arrow head.
In a smiley auto shape, the yellow handle allows you to make the character to smile or frown.
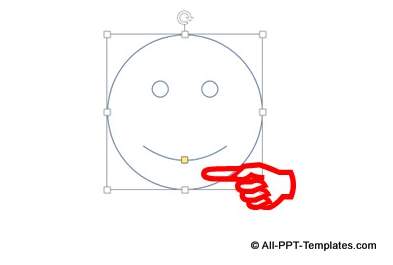 Manipulating a Smiley
The only way to know the function of a yellow handle is to experiment by dragging the handle in different directions.
Those are the ways you can work with the handles in PowerPoint auto shapes.
Examples of Using Auto Shape Handles in PowerPoint to Create Diagrams:
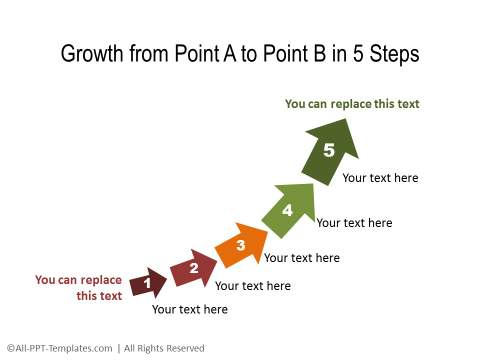
Example 1: Using Shape Rotation to create a upward moving series of arrows
Example 2: Manipulating Size and Yellow Handles To create Updown Movement
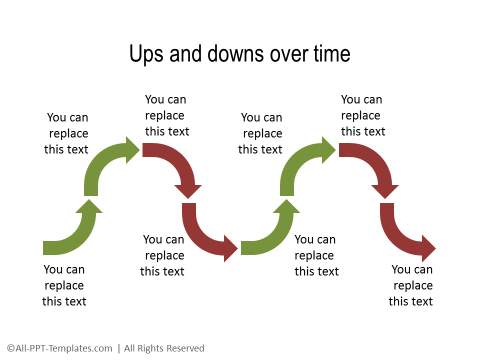 Diagram showing Up Down Movement ( Source: Timelines from Essential Charts Pack)
Example 3: Call outs Expanded using Handles to show different parts of the concentric circle
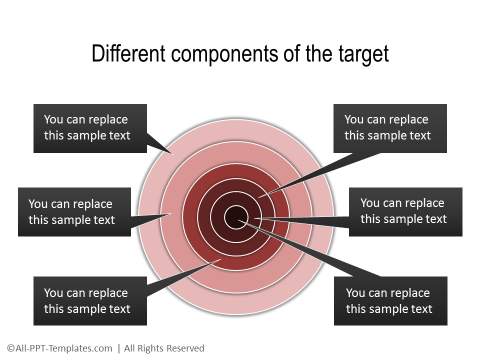 Diagram Showing Parts of A Target ( Source: Target Section of Essential Charts Pack)
Note : All the above examples are taken from the PowerPoint Essential Charts Pack.
Knowing how to use an Auto Shape the right way allows you to make business slides that impress business audience. However, if you are a busy business presenter who doesn’t have the time to play with different options and create graphics, we have an elegant solution for you.
We recommend you take a look at our PowerPoint Essential Charts Pack collection that is created for busy business presenters like you. The pack has 700 templates you can use in business presentations. Just choose the template that matches your thought. Replace the sample text with your own text and your business slides get ready in no time. Creating professional quality business slides has never been easier.
Related Posts
|
Picture in Auto Shapes |
Top of Page : Auto Shape Handles in PowerPoint
Main PowerPoint Tutorials Page
